How to Complete Every NPC Side Quest in Elden Ring
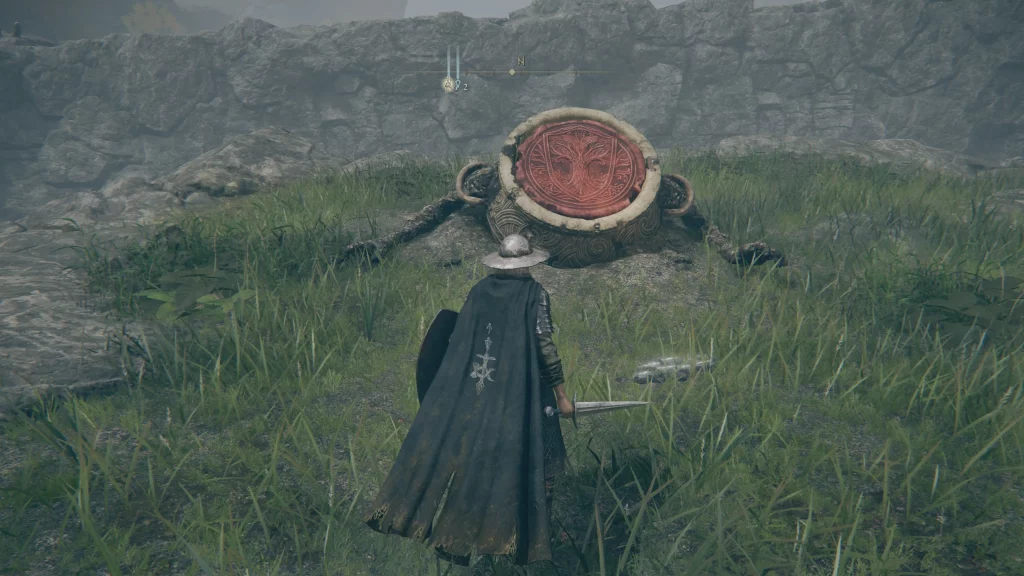
Searching for a complete guide to all Elden Ring side quests? The vast world of Elden Ring is filled with fascinating NPCs, each offering their own set of side quests. Completing these quests can reward you with unique weapons, armor sets, and even alternate endings.With more than 30 side quests available, it can be overwhelming to decide where to begin. To help you prioritize your journey while you hunt bosses, we’ve listed each side quest below, with NPC locations and detailed steps on how to finish them. Completing all remaining quests is an excellent way to strengthen your character, preparing you for future DLC content like Shadow Of The Erdtree.
All NPC Quest Locations in Elden Ring
Here’s a table listing every NPC and their starting locations for side quests. Click on an NPC’s name to get full details on completing their respective quests.
| NPC | Starting Location |
|---|---|
| Varre | Find Varre at The First Step Site of Grace when you first enter Limgrave. |
| Yura | Yura appears east of Seaside Ruins Site of Grace in Limgrave or can be summoned during the fight with Bloody Finger Nerijus near Murkwater Cave. |
| Patches | Patches is inside Murkwater Cave, along the river flowing out of Agheel Lake North in Limgrave. |
| Boc | Boc is disguised as a tree near Murkwater Bridge; hit the tree to reveal him. |
| Blaidd | Located at Mistwood Ruins, south of Mistwood Outskirts Site of Grace in eastern Limgrave. |
| Sellen | Found in a secret room in Waypoint Ruins Cellar after defeating the Mad Pumpkin Head boss. |
| Irina and Edgar | Meet Irina near the Bridge of Sacrifice on Weeping Peninsula and find Edgar at the top of Castle Morne. |
| Roderika | Roderika can be found in the Stormhill Shack, near the Site of Grace, west of the Warmaster’s Shack in upper Limgrave. |
| Iron-Fist Alexander | Alexander is stuck in the ground at the eastern end of Stormhill, near the Saintsbridge Site of Grace. |
| Knight Bernahl | Knight Bernahl can be found at the Warmaster’s Shack in Stormhill or in Volcano Manor. |
| Fia | Fia resides in a side room at the Roundtable Hold. |
| D, Hunter of the Dead | Find D on the east side of Stormhill or at the Roundtable Hold. |
| Gurranq | Gurranq is within the Bestial Sanctum, accessible by following D’s questline. |
| Diallos Hoslow | Diallos is located at the Roundtable Hold. |
| Ensha | Ensha can be found at the Roundtable Hold. |
| Nepheli Loux | Nepheli is found within Stormveil Castle and later moves to the Roundtable Hold. |
| Kenneth Haight | Kenneth Haight is near Saintsbridge in Limgrave. |
| Sorcerer Rogier | Rogier is in Stormveil Castle, then again at Roundtable Hold. |
| Brother Corhyn and Goldmask | Brother Corhyn is at the Roundtable Hold; Goldmask is found west of Windmill Village in the Altus Plateau. |
| Thops | Thops can be found within the Church of Irith, southwest of the Lake-Facing Cliffs Site of Grace in Liurnia. |
| Hyetta | Hyetta can be found at the Lake-Facing Cliffs Site of Grace. |
| Latenna the Albinauric | Find Latenna at the Slumbering Wolf’s Shack after clearing the Lakeside Crystal Cave dungeon in southern Liurnia. |
| Rya/Zoraya | Rya is met at Liurnia of the Lakes, east of the Scenic Isle Site of Grace. |
| Blackguard Big Boggart | Boggart is at the Boilprawn Shack, north of Scenic Isle in Liurnia. |
| Jar-Bairn | Jar-Bairn is in Jarburg, near the Carian Study Hall in eastern Liurnia. |
| Ranni the Witch | Ranni can be found at Ranni’s Rise in northwestern Liurnia, beyond Caria Manor. |
| Preceptor Seluvis | Seluvis resides in Ranni’s Rise in Liurnia. |
| Millicent | Millicent is located at the Church of Plague in central Caelid. |
| Gowry | Gowry’s shack is found south of Sellia in Caelid. |
| Tanith | Tanith is found in Volcano Manor, west of the Altus Plateau. |
| Dung Eater | The Dung Eater is in the Subterranean Shunning-Grounds in Leyndell. First, interact with his phantom at the Roundtable Hold. |
| Shabriri | Shabriri can be found at Zamoor Ruins in the Mountaintops of the Giants. |
White Mask Varre Quest Guide
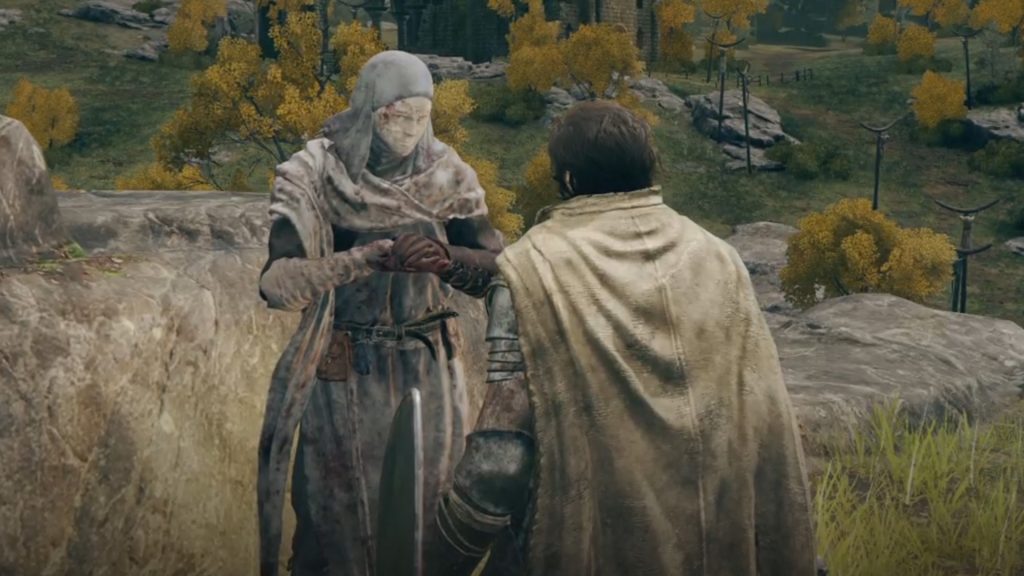
Varre is the first NPC you’ll meet in Elden Ring. He insults you by calling you maidenless early on. Completing his quest unlocks a reusable Bloody Finger, which allows repeated PvP invasions. He can also help you reach Mohg’s Palace earlier in the game.
Varre’s quest originally required PvP, but an alternate PvE path was introduced in Patch 1.06. Here’s how to complete it:
- Talk to Varre when you first enter Limgrave.
- Speak with him again after visiting Roundtable Hold for the first time.
- After obtaining your first Great Rune, meet Varre at the Rose Church and receive the Festering Bloody Finger. You now have two choices:
- Option 1 (PvP): Invade three players with the Festering Bloody Finger; you don’t need to win.
- Option 2 (PvE): Head to Writheblood Ruins in Altus Plateau and defeat Magnus the Beast Claw.
- Return to Varre after either option, and he will give you the Lord of Blood’s Favor.
- Take the Favor to the maiden’s body in the Church of Inhibition.
- Return to Varre to receive a reusable Bloody Finger. Reload the area to obtain the Pureblood Knight’s Medal, allowing you to teleport to Mohgwyn’s Palace.
- Summon Varre at the Mausoleum Midpoint Grace and defeat him.
- Find a dying Varre in the area after reloading and exhaust his dialogue to receive Varre’s Bouquet and six Festering Bloody Fingers.
Yura Quest Guide
Yura’s quest revolves around battling Mohg, Lord of Blood, and rewards a useful Crystal Tear that counteracts some of Mohg’s mechanics, plus a red twinblade. Starting Shabriri’s quest will cancel Yura’s, so be mindful.
- Approach Murkwater Cave to trigger a Bloody Finger Nerijus invasion. Yura will help you here—ensure he survives to continue his quest.
- Find Yura in Raya Lucaria and use his summon sign on the northern bridge.
- Meet him at the Second Church of Marika, where he will reward you with the Nagakiba katana after helping him defeat Bloody Finger Eleonara.
- If Shabriri’s quest has started, Bloody Finger Eleonara will invade you at the Second Church of Marika. Defeating them rewards you with the Crystal Tear and twinblade.
Patches Quest Guide
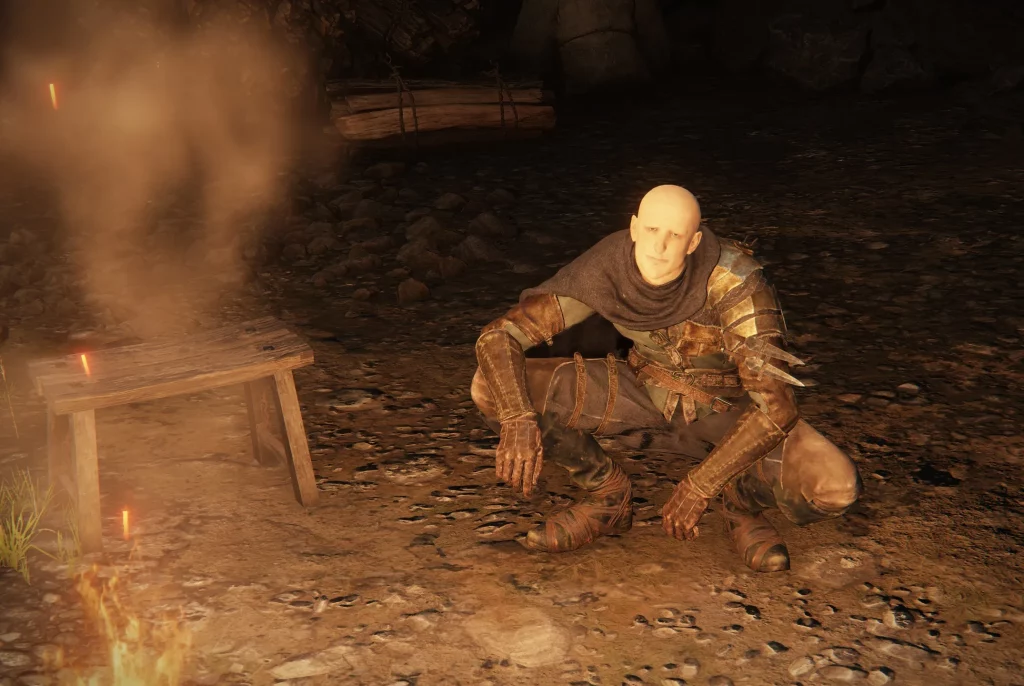
Patches returns in Elden Ring and is up to his usual tricks. Here’s how to complete his updated quest:
- Defeat Patches in Murkwater Cave, but don’t kill him to continue the quest.
- Reload the area and speak to him again, then open his chest. Return and forgive him.
- Find Patches at Scenic Isle, and later at Mt. Gelmir, where he will push you off a cliff.
- Meet him at Volcano Manor, assassinate his target, then return to Tanith for a reward.
- Patches will appear at Shaded Castle and give you Dancer’s Castanettes to deliver to Tanith.
- Patch 1.04 added two more steps: Return to Murkwater Cave to fight Patches again and earn the Crouch gesture. Then reload to find his shop reopened.
Boc the Seamster Quest Guide
Boc can alter basic garments early on, but his quest allows him to eventually alter legendary armor if you give him the Gold Sewing Needle.
- Find Boc near Murkwater Bridge in his disguised tree form. Hit the tree to reveal him.
- Find him again in Coastal Cave and defeat the Demi-Human bosses to retrieve the Tailoring Tools and Sewing Needle. Return them to Boc.
- Boc will move to Lake-Facing Cliffs, where he can alter basic armor.
- After finding him at the East Raya Lucaria Grace, ask Melina about him at a Site of Grace.
- Find Boc again at the Altus Highway Junction Grace.
- Retrieve the Gold Sewing Needle from the Church of Vows and give it to Boc at the East Capital Ramparts Grace. From here, choose one of three options:
- Option 1: Use the “You’re Beautiful” Prattling Pate, which will allow Boc to alter more garments. He remains here for the rest of the game.
- Option 2: Give Boc a Larval Tear to allow him to be reborn. He loses his voice and eventually dies, ending the quest.
- Option 3: Do nothing, and Boc will move to the doors of the Raya Lucaria Grand Library.
Blaidd Quest Guide
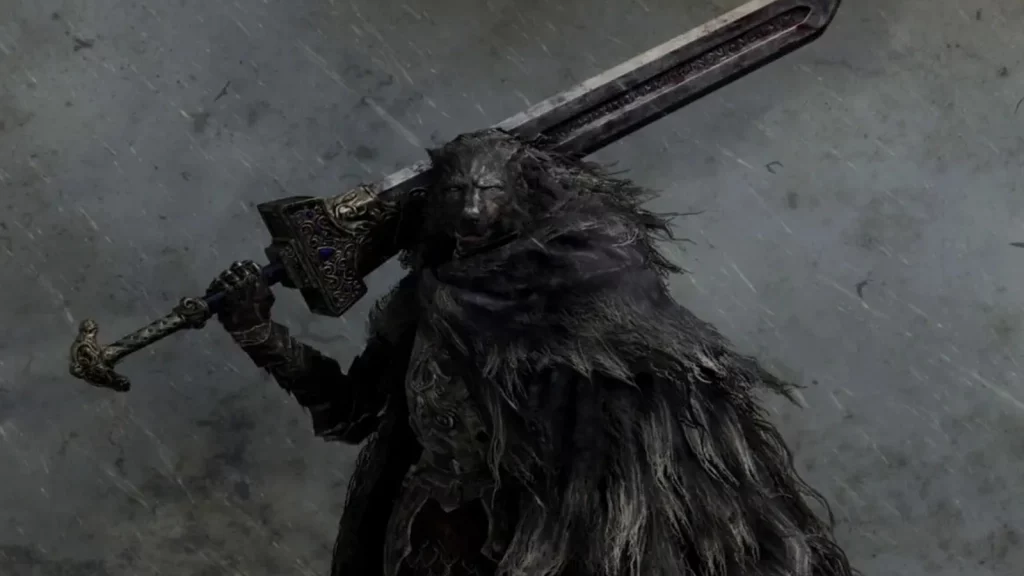
Blaidd the Half-Wolf is a servant of Ranni, and his questline ties closely with hers. If you start Ranni’s questline at Ranni’s Rise, it will skip the early stages of Blaidd’s quest, so start early to get the full experience.
- Go to the Mistwood in East Limgrave to hear a wolf’s howl. Head to the Church of Elleh and ask the merchant about the howl to learn the snap gesture.
- Use the snap gesture in Mistwood Ruins to summon Blaidd and speak to him.
- Summon Blaidd at the Forlorn Hound Evergaol in South Limgrave and defeat the boss. If you’ve already defeated the boss, simply speak to Blaidd.
- Speak to Ranni at her tower, then talk to Blaidd in the lower level of Ranni’s Rise.
- Find Blaidd in Siofra River near the Spirit Spring jump and follow his instructions to find Sellen. Speak to her and return to Blaidd.
- Meet Blaidd at Redmane Castle before defeating Radahn. After the battle, talk to him at the new Grace.
- After Ranni’s quest ends, find Blaidd imprisoned in the Forlorn Hound Evergaol.
- Upon completing Ranni’s quest, Blaidd will turn hostile at Ranni’s Rise. Defeat him to receive his armor and sword.
Sellen Quest Guide
Sellen offers powerful sorceries and has a questline that’s essential for magic users. There are two possible endings, each with unique rewards.
- Meet Sellen in the Waypoint Ruins Cellar and speak with her.
- Find the Comet Azur sorcery in Hermit Village on Mt. Gelmir and return it to Sellen.
- Locate Master Lusat in Sellia Hideaway.
- After defeating Radahn, return to Sellen.
- Speak to her in Witchbane Ruins and then find Jerren in Castle Redmane’s throne room.
- Return to Witchbane Ruins to speak with Jerren.
- Find Sellen’s body under an illusory floor between Ranni’s Rise and Renna’s Rise.
- Choose between helping or challenging Sellen by using one of two summon signs outside the Raya Lucaria Grand Library.
- If you help her, you’ll receive the Eccentric Set and Glintstone Kris. Return to Hermit Village and Lusat’s location to get more caster gear.
- If you challenge Sellen, you’ll receive the Witch’s Glintstone Crown and her Bell Bearing. Talk to Jerren for an Ancient Dragon Smithing Stone.
Irina and Edgar Quest Guide
This short quest involves Irina and her father Edgar, leading through Castle Morne and ultimately rewarding you with a Banished Knight’s Halberd +8.
- Meet Irina on the Weeping Peninsula at the Bridge of Sacrifice and accept her letter.
- Deliver Irina’s letter to Edgar at the top of Castle Morne.
- Defeat the Leonine Misbegotten and show Edgar the Grafted Blade Greatsword.
- Return to Irina and find her dead, then reload the area to find Edgar mourning her.
- Edgar will later invade you at the Revenger’s Shack in western Liurnia. Defeat him for the Banished Knight’s Halberd +8.
Roderika Quest Guide
Roderika’s quest is essential for enabling her to upgrade Spirit Ashes, so it’s highly recommended to complete her storyline.
- Find Roderika at Stormhill Shack and exhaust her dialogue.
- Retrieve the Chrysalid’s Memento from near the Rampart Tower Grace and give it to Roderika.
- After defeating Godrick or bypassing Castle Stormveil, meet Roderika at the Roundtable Hold.
- Speak to her several times until she asks you to speak with Smithing Master Hewg about Spirit Tuning.
- Convince Hewg to teach her Spirit Tuning, then speak to Roderika again.
- Reload the Roundtable Hold to find Roderika across from Hewg. She will now upgrade your Spirit Ashes.
Iron-Fist Alexander Quest Guide
Alexander the Jar Warrior can assist in a few boss battles and rewards a powerful talisman at the end of his questline.
- (Optional) Free Alexander, who is stuck in the ground on the eastern side of Stormhill.
- (Optional) Meet Alexander in Gael Tunnel in Caelid.
- Speak to Alexander in Redmane Castle’s courtyard before fighting Starscourge Radahn.
- After Radahn’s defeat, speak with Alexander at the nearby Grace.
- Find him stuck in the ground again on the cliffs above Jarburg and free him using an oil pot.
- Later, meet Alexander in a lava lake on the western edge of Mt. Gelmir.
- (Optional) Summon Alexander for the Fire Giant fight.
- Lastly, find Alexander in Crumbling Farum Azula, where he will challenge you to a duel. Defeat him to earn the Shard of Alexander talisman and Alexander’s Innards.
Knight Bernahl Quest Guide
Knight Bernahl’s quest intersects with Tanith’s Volcano Manor storyline. Be sure to complete this quest before defeating Rykard to avoid missing out on rewards.
- Meet Bernahl at the Warmaster’s Shack on Stormhill and then again at Volcano Manor.
- Complete Tanith’s first two assassination tasks, then speak to Bernahl.
- Help Bernahl with his own assassinations and exhaust his dialogue. Be sure to purchase any Ashes of War from him before proceeding.
- Bernahl will invade you in Crumbling Farum Azula, near Malekith’s arena. Defeat him to obtain his armor, the Devourer’s Scepter, and the Blasphemous Claw.
Fia Quest Guide
Fia’s lengthy quest requires the Cursemark of Death from Ranni’s questline and leads to one of the game’s alternate endings. Complete this quest before burning the Erdtree, as Fia will leave Roundtable Hold afterward.
- Ask Fia to hold you and receive a Baldachin’s Blessing.
- Ask her to hold you again and select “Talk in secret” to receive a special dagger.
- Give the dagger to D in Roundtable Hold.
- Return to the Hold to find Fia standing over D’s body. Speak to her, and she will vanish.
- Find Fia in Deeproot Depths, defeat her guards, and ask her to hold you again.
- Bring her the Cursemark of Death and defeat Lichdragon Fortissax to complete the quest and unlock the Age of the Duskborn ending.
D, Hunter of the Dead and D’s Twin Brother Quest Guide
D will help you access the Bestial Sanctum and meet Gurranq. His quest intertwines with Fia’s, so be sure to complete it before Fia kills him.
- Meet D in Stormhill or at Roundtable Hold.
- Obtain a Deathroot (the Tibia Mariner in Summonwater Village is the fastest source) and show it to D. He’ll mark a teleporter to the Bestial Sanctum on your map.
- Use the teleporter to reach Gurranq and speak to D afterward.
- Give Fia’s dagger to D, and when you return to Roundtable Hold, you’ll find him dead. Collect his Bell Bearing and the Twinned armor set.
- Find D’s twin brother near the Valiant Gargoyle arena in Nokron. Give him D’s armor set.
- After completing Fia’s quest, return to Deeproot Depths to speak with D’s brother and receive the Inseparable Sword.
Gurranq, Beast Clergyman Quest Guide
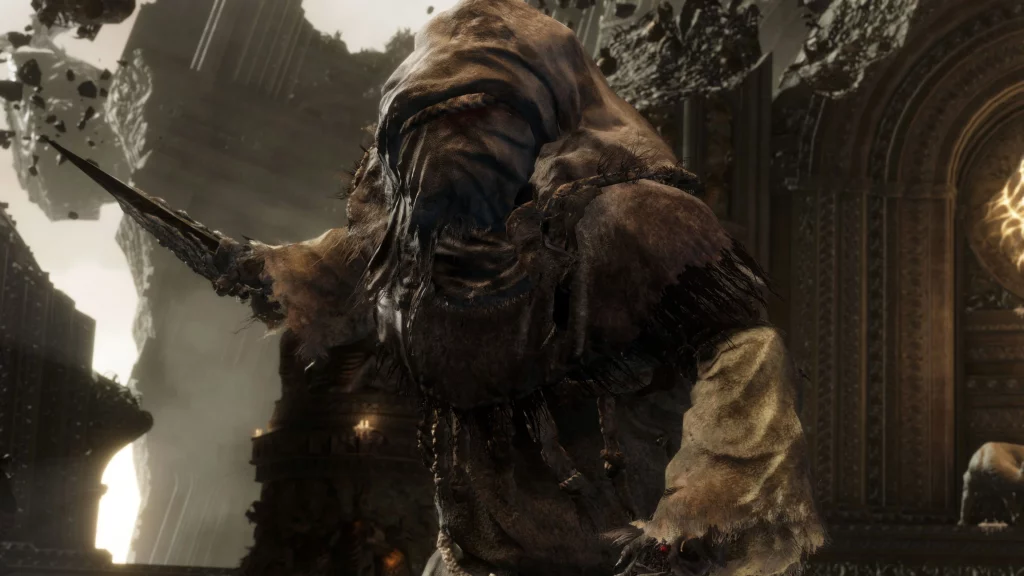
Gurranq accepts Deathroots in exchange for powerful items. You’ll encounter him as part of D’s questline. Feeding him four Deathroots will trigger a hostile encounter.
- Feed Gurranq one Deathroot at a time to receive bestial incantations or weapons.
- After feeding him four Deathroots, Gurranq will attack you upon returning. Deal enough damage to make him submit, and he’ll calm down.
- Feed him the remaining Deathroots to receive rewards, with the ninth and final Deathroot granting an Ancient Dragon Smithing Stone.
Diallos Hoslow Quest Guide
Diallos’ tragic quest involves him seeking vengeance and ultimately leads to Jar-Bairn’s storyline. Be sure to speak to him in Volcano Manor before killing Rykard.
- Meet Diallos for the first time at Roundtable Hold.
- Find him mourning his sister’s death near the Academy Gate Town Grace.
- Return to Roundtable Hold to speak with him again.
- Meet him in Volcano Manor’s drawing room.
- After killing Rykard, progress Jar-Bairn’s quest until Diallos arrives in Jarburg.
- Speak to both Diallos and Jar-Bairn until you exhaust their dialogue.
- Reload the area to find a wounded Diallos. Speak with him before he dies.
- Reload the area again to retrieve Hoslow’s Petal Whip and Diallos’ mask.
Ensha Quest Guide
Ensha’s quest is brief but rewards you with the Royal Remains armor set and Clinging Bone weapon.
- Attempt to speak with Ensha at Roundtable Hold to receive the “What Do You Want” gesture.
- Find the right half of the Haligtree Secret Medallion in the Village of the Albinaurics.
- Upon your return to Roundtable Hold, Ensha will invade you. Defeat them to earn the Clinging Bone weapon.
- Pick up the Royal Remains armor where Ensha used to stand.
Nepheli Loux Quest Guide
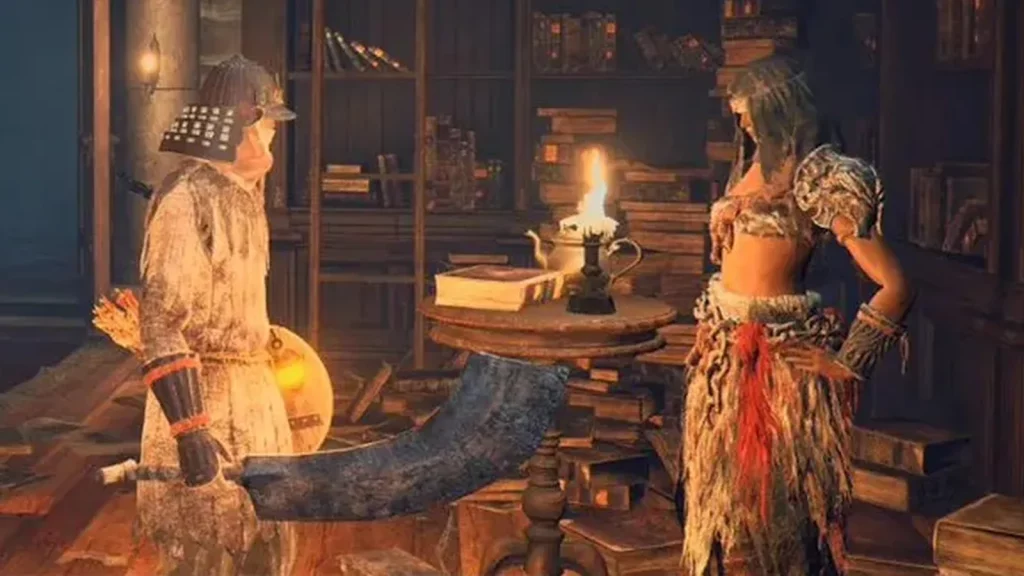
Nepheli’s quest is one of the few ways to obtain an Ancient Dragon Smithing Stone, making it worthwhile to complete.
- Meet Nepheli in Stormveil Castle.
- (Optional) Summon her to help fight Godrick the Grafted.
- Speak to Nepheli in Roundtable Hold.
- Find her in the Village of the Albinaurics and help defeat the area boss.
- Return to the basement of Roundtable Hold and speak with Nepheli again.
- (Optional) Give her Seluvis’ potion to end her quest prematurely.
- Progress Roderika’s quest so she can upgrade Spirit Ashes, and bring the Stormhawk King key item to Nepheli from the Chapel of Anticipation.
- Complete Kenneth Haight’s quest and defeat Morgott in Leyndell.
- Meet Nepheli and Kenneth in the Stormveil Throne Room to receive an Ancient Dragon Smithing Stone.
Kenneth Haight Quest Guide
Kenneth Haight’s quest is short and leads into Nepheli Loux’s storyline. While the quest itself isn’t very rewarding, it’s required for completing Nepheli’s quest.
- Find Kenneth Haight near Saintsbridge in Limgrave. He will call out for help as you approach the bridge.
- Clear Fort Haight of enemies and return to Kenneth to inform him. He will reward you with an Erdsteel Dagger.
- Afterward, head back to Fort Haight, which will be overrun once again. Speak to Kenneth at the fort’s walls.
- Finally, meet Kenneth and Nepheli Loux in the throne room of Stormveil Castle after completing Nepheli’s questline.
Sorcerer Rogier Quest Guide
Rogier’s quest is mostly tied to lore and offers little direct reward. However, it links into Fia and D’s questlines, giving it a deeper narrative connection.
- Meet Rogier in Stormveil Castle and then again in Roundtable Hold.
- Defeat the Ulcerated Tree Spirit beneath Stormveil Castle and activate the bloodstain near the rotted face.
- Return to Rogier in Roundtable Hold and speak to him again.
- (Optional) Ask Fia to hold you, select “Talk in Secret,” and exhaust her dialogue. She will reveal the Black Knife Catacombs on your map.
- Retrieve the Black Knifeprint from the Black Knife Catacombs and give it to Rogier.
- Speak to Ranni after she turns you away. Go back to Rogier and talk to him once more before entering Ranni’s service.
- Return to Rogier one last time, where he will fall into a deep slumber. Reload the area to find his armor, Bell Bearing, and a letter revealing D’s twin brother’s location.
Brother Corhyn and Goldmask Quest Guide
Brother Corhyn and Goldmask’s quest leads to the Age of Order ending. Complete the quest before defeating Malekith, or you will be locked out of progressing.
- Speak to Brother Corhyn at Roundtable Hold once you reach Altus Plateau.
- Find Goldmask west of the Windmill Village and tell Corhyn where he is.
- Meet both of them at Goldmask’s location.
- Travel to Leyndell, find them near the colosseum, and solve their riddle by casting Law of Regression on the message west of Erdtree Sanctuary.
- Find them again at Stargazer’s Ruins after Malekith’s defeat.
- After defeating Malekith, find Goldmask in Leyndell, Ashen Capital. Speak with Corhyn near the giant spear, then reload to obtain Corhyn’s Bell Bearing and robe.
Thops Quest Guide
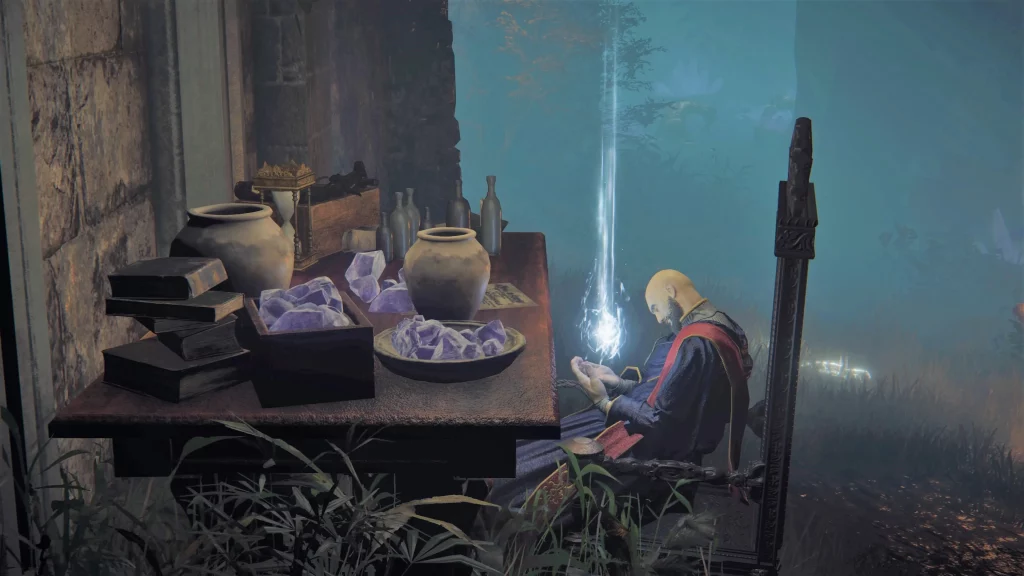
Thops’ quest rewards you with the Erudition gesture, which is required to solve a few tower puzzles. While short, completing it is essential for puzzle completionists.
- Meet Thops at the Church of Irith in Liurnia of the Lakes.
- Find the first Glintstone Key to enter Raya Lucaria.
- Locate the second Glintstone Key in the rafters of the Church of the Cuckoo inside Raya Lucaria.
- Give the second key to Thops, and he will teach you the Erudition Gesture.
- Later, find Thops’ corpse near the Schoolhouse Classroom Grace in Raya Lucaria and collect his Bell Bearing.
Hyetta Quest Guide
Hyetta’s quest nudges you toward the Lord of Frenzied Flame ending. By giving her Shabriri Grapes, you advance her storyline, and she can even replace Melina as your maiden if you choose the Flame ending.
- Meet Hyetta at the Lake-Facing Cliffs Site of Grace and give her a Shabriri Grape.
- Find her again at the Purified Ruins and give her another Shabriri Grape.
- Next, meet her at the Gate Town Bridge Grace and give her another grape. Choose to tell her what the grapes really are, then reload the area to speak to her again.
- Bring her the Fingerprint Grape at Bellum Church.
- After acquiring the Frenzied Flame from the Three Fingers, meet Hyetta one last time to receive the Frenzied Flame Seal and become the Lord of Frenzied Flame. Melina will leave, and Hyetta will become your new maiden.
Latenna the Albinauric Quest Guide
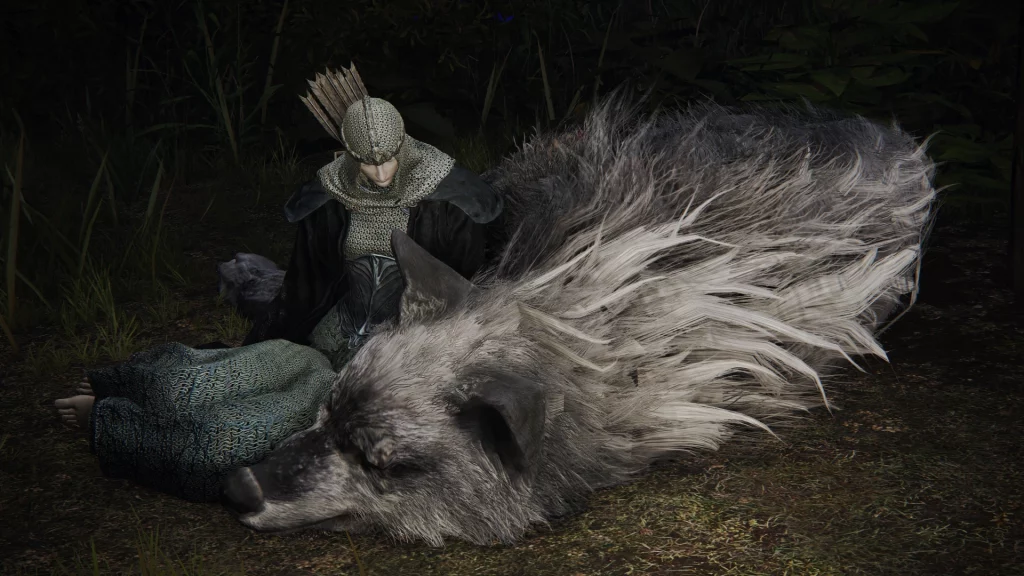
Latenna’s quest will guide you toward the pieces of the Haligtree Medallion, which are essential to access the Consecrated Snowfield and Miquella’s Haligtree. Completing her quest rewards you with a Somber Ancient Dragon Smithing Stone.
- Clear the Lakeside Crystal Cave dungeon and exit to find Latenna at the Slumbering Wolf’s Shack. Speak to her there.
- Find Albus hidden in the Village of the Albinaurics to receive the first half of the Haligtree Medallion.
- After obtaining the medallion, speak to Latenna again to receive her Spirit Ashes.
- Reach the Mountaintops of the Giants, where Latenna’s voice will direct you to Castle Sol.
- Defeat Commander Niall in Castle Sol and retrieve the second half of the Haligtree Medallion from the tower behind him.
- Use the medallion at the Grand Lift of Rold to access the Consecrated Snowfield.
- Find the Apostate Derelict in the far northwest of the Consecrated Snowfield and interact with the giant Albinauric woman to summon Latenna. Exhaust her dialogue to receive a Somber Ancient Dragon Smithing Stone.
Rya/Zoraya Quest Guide
Rya’s quest has several fail states, so be cautious. You must meet her before entering Volcano Manor to avoid instantly failing her quest, and you must finish all Volcano Manor steps before killing Rykard.
- Meet Rya at Liurnia of the Lakes and speak to her before entering Volcano Manor.
- Buy back her necklace from Blackguard Big Boggart and return it to her.
- Meet her at Lux Ruins and teleport to Volcano Manor.
- Join Tanith’s cult and speak to Rya. Find her again in her snake form and reload the area to see her in human form.
- Retrieve the Serpent’s Amnion after defeating the Godskin Noble in the Prison Town Church Grace and give it to Rya.
- You now have three choices: kill her, give her the Tonic of Forgetfulness, or defeat Rykard and return to her later.
Blackguard Big Boggart Quest Guide
Blackguard Big Boggart’s quest ties into Rya’s quest and can reward you with an extra Seedbed Curse, which is needed for Dung Eater’s questline.
- Buy back Rya’s necklace from Boggart and return it to her.
- Purchase boiled prawns from Boggart and speak to him again.
- After freeing the Dung Eater, find Boggart in the Leyndell Outer Moat. He will die after a Seedbed Curse invasion occurs, and you will lose access to his shop.
Jar-Bairn Quest Guide
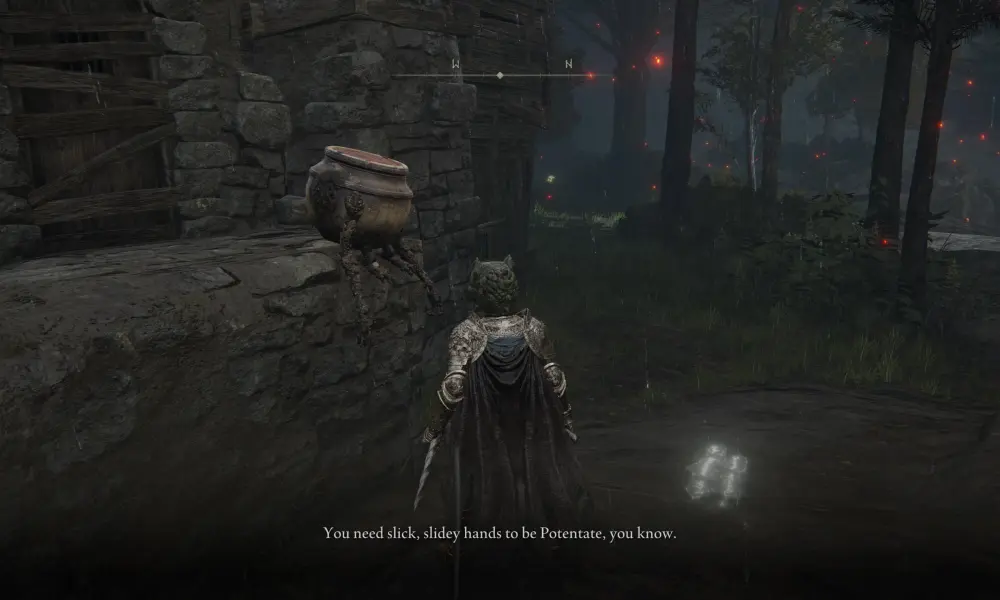
Jar-Bairn’s quest concludes both Diallos’ and Alexander’s questlines. While the rewards aren’t great, it offers closure to their stories.
- Find Jar-Bairn in Jarburg and exhaust his dialogue after each reload.
- After completing Diallos’ quest, speak with both Diallos and Jar-Bairn in Jarburg until their dialogue is exhausted.
- Reload the area to find a mortally wounded Diallos. Speak with him before he dies.
- Once Alexander’s quest is complete, return to Jar-Bairn and give him Alexander’s Innards.
- Reload the area one last time to find the Companion Jar talisman where Jar-Bairn used to sit.
Ranni Quest Guide

Ranni’s quest is one of the most complex and lengthy quests in the game, ultimately leading to the Age of Stars ending.
- Meet Ranni at her tower northwest of Caria Manor.
- After defeating Radahn, descend into Nokron and retrieve the Fingerslayer Blade.
- Give the blade to Ranni to receive the Inverted Statue, allowing you to access the Liurnia Divine Tower.
- Return to Ranni’s tower to find a new Grace. Follow its guidance to Renna’s Rise and use the teleporter to reach Ainsel River.
- Pick up the Ranni Doll and continue through Ainsel River and Nokstella until you reach Nokstella Waterfall Basin.
- Speak with Ranni using the “talk to Ranni” option at the Grace until she responds.
- Defeat the Baleful Shadow and receive the key from Ranni.
- Use the key at the Raya Lucaria Grand Library to retrieve the Dark Moon Ring.
- Cross the Lake of Rot and defeat Astel, Naturalborn of the Void.
- Finally, ascend to the Moonlight Altar and complete the quest to unlock the Age of Stars ending.
Preceptor Seluvis Quest Guide
Preceptor Seluvis’ questline offers multiple branching paths, including one where you can betray Ranni. Be cautious, as his questline will end when you deliver the Fingerslayer Blade to Ranni, and absolution will not undo this.
- Speak to the ethereal form of Seluvis at Ranni’s Rise after meeting Ranni.
- Go south to Seluvis’ tower to meet his physical form and receive Seluvis’ potion. You can give the potion to Nepheli Loux, Gideon Ofnir, or even the Dung Eater, but this decision doesn’t affect the following steps.
- Find Seluvis’ hidden room near Ranni’s Rise and read the message inside.
- Return to Seluvis, buy all of his sorceries, and purchase at least one Puppet Ash from him.
- Locate Amber Starlight on Altus Plateau and give it to Seluvis. He will create the Amber Draught, which you can offer to Ranni to betray her.
Millicent Quest Guide
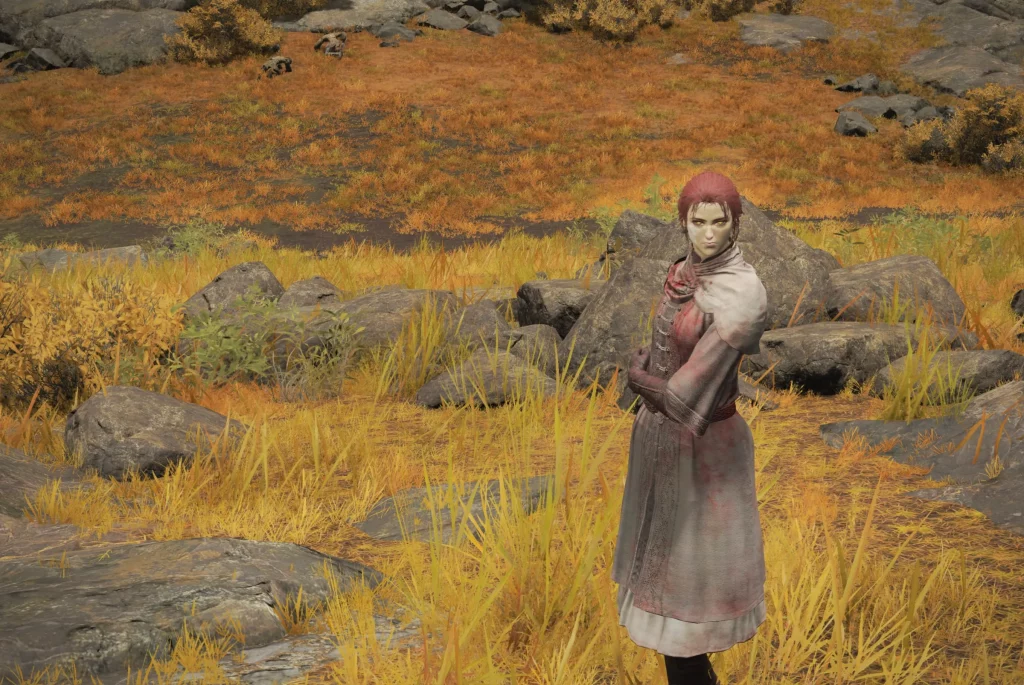
Millicent’s quest offers valuable rewards, including talismans and a Somber Ancient Dragon Smithing Stone. Her quest is also tied to removing the Flame of Frenzy if you’ve acquired it. Be careful during the final stages, as it’s possible to kill Millicent accidentally.
- Defeat Commander O’Neil in the Aeonia Swamp to receive the Unalloyed Gold Needle.
- Visit Gowry in his shack south of Sellia, then solve the Sellia puzzle to reach the Church of Plague.
- Speak to Millicent at the church and give her the needle. Reload the area and speak with her again once she’s recovered.
- Find Millicent in Gowry’s shack and talk to her there.
- Retrieve the Valkyrie’s Prosthesis from the Shaded Castle and give it to Millicent at the Erdtree Gazing Hill Grace.
- Defeat the Godskin Apostle in Dominula, Windmill Village, then speak to Millicent near the Grace.
- (Optional) Summon Millicent to assist in the Draconic Tree Sentinel fight.
- Find Millicent again at the Ancient Snow Valley Ruins Grace in the Mountaintops of the Giants.
- Meet her once more at the Prayer Room Grace in the Haligtree and defeat the Putrid Tree Spirit there.
- Choose to help or challenge Millicent after defeating the Putrid Tree Spirit. We recommend helping her. Reload and speak to her after the battle.
- Use Millicent’s needle in Malenia’s arena after defeating her to acquire Miquella’s Needle and a Somber Ancient Dragon Smithing Stone.
- (Optional) Use Miquella’s Needle in Dragonlord Placidusax’s arena to remove the Flame of Frenzy.
Gowry Quest Guide
Gowry’s quest is essentially an extension of Millicent’s storyline. As you progress Millicent’s quest, Gowry’s inventory expands, offering new spells and dialogue.
- Find Gowry in his shack south of Sellia, the Town of Sorcery.
- Bring him the Unalloyed Gold Needle that you received from Commander O’Neil.
- After giving Millicent the Valkyrie’s Prosthesis, find the Pest Threads spell available in Gowry’s shop.
- When you reach the “Help or Challenge” step of Millicent’s quest, speak to Gowry. He will ask you to kill Millicent.
- If you challenge and defeat Millicent, find the Flock’s Canvas Talisman and Gowry’s Bell Bearing in his shack afterward.
- If you assist Millicent, return to Gowry for more dialogue. You can also kill him for the same rewards.
Tanith Quest Guide

Tanith is the leader of the Volcano Manor assassins, and her questline leads to unique rewards. Be sure to complete her tasks before defeating Rykard, as his death ends the questline.
- Speak to Tanith in Volcano Manor and receive the Drawing Room Key. Use it to access the drawing room and pick up the assassination letters from the table.
- Invade and kill Old Knight Istvan, then return to Tanith for a reward. Find the next assassination letter in the drawing room.
- Invade and kill Rileigh the Idle. Return to Tanith for another reward and collect the final letter.
- Invade and kill Juno Hoslow. Afterward, Tanith will teleport you to Rykard’s arena. Defeat Rykard and speak to Tanith again.
- Return to Rykard’s arena to find Tanith eating Rykard’s remains. Kill her to summon her bodyguard and defeat him to earn the Aspect of the Crucible: Breath incantation.
Dung Eater Quest Guide
The Dung Eater’s questline leads to one of the game’s bad endings. Make sure to collect all Seedbed Curses before defeating Malekith, as they won’t appear in the Ashen Capital.
- Meet the Dung Eater’s phantom in Roundtable Hold.
- Find a Seedbed Curse and show it to his phantom to receive the Sewer-Gaol key.
- Use the key to find the Dung Eater’s real body in the Subterranean Shunning-Grounds.
- Defeat his phantom in the Outer Moat.
- Speak to the Dung Eater’s phantom again in Roundtable Hold.
- (Optional) Visit the Leyndell Moat to trigger an invasion and earn an additional Seedbed Curse. This will kill Blackguard Big Boggart, ending his questline.
- Deliver five Seedbed Curses to the Dung Eater in the Subterranean Shunning-Grounds to receive the Mending Rune of the Fell Curse.
- Reload the area to find the Dung Eater’s armor set, the Omen Set.
Shabriri Quest Guide
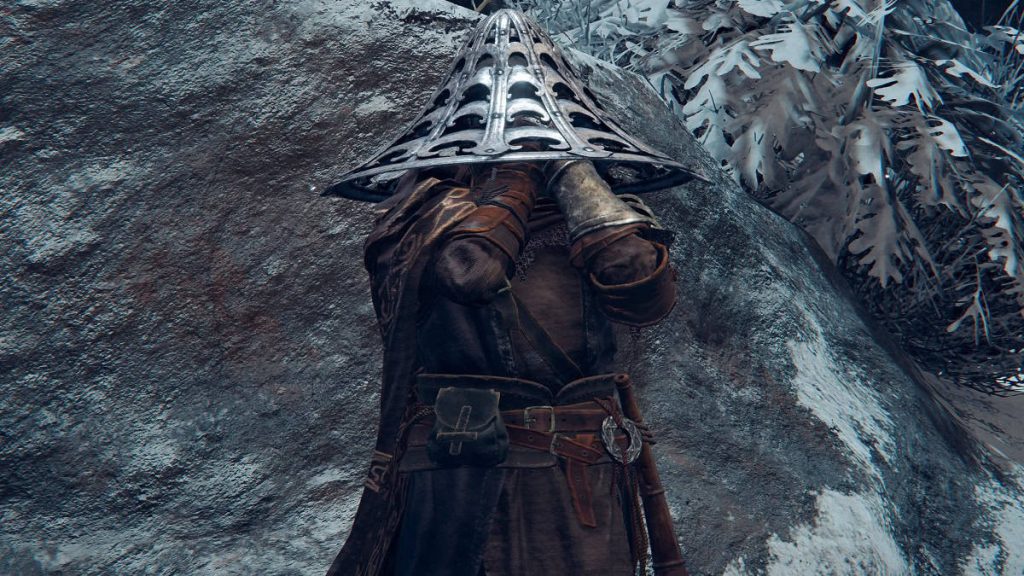
Shabriri takes over Yura’s body, and his quest is tied to the Lord of Frenzied Flame ending. Be aware that starting Shabriri’s quest will immediately end Yura’s.
- Speak to Shabriri at Zamoor Ruins in the Mountaintops of the Giants. Do not enter the Mountaintops if you wish to complete Yura’s quest.
- Shabriri will direct you to the location of the Three Fingers, guiding you to the Frenzied Flame ending.
- If you choose the Flame, Shabriri will vanish, leaving behind Yura’s Ronin armor. If you don’t want the Flame, you can kill Shabriri and take the armor without consequence.
