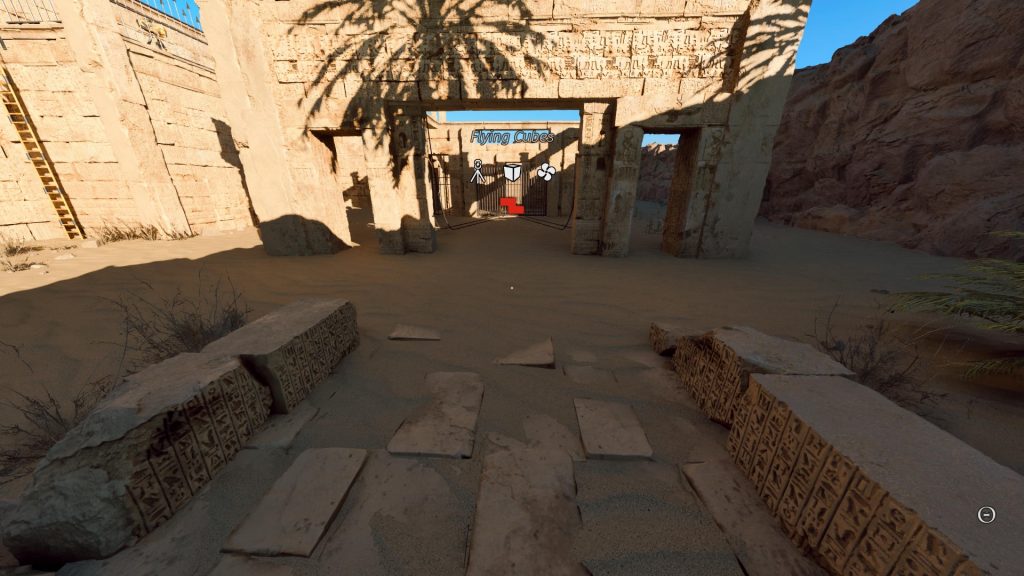
The Talos Principle: Reawakened introduces a captivating expansion called In the Beginning, featuring a set of challenging puzzles for players to tackle. Among these, the Flying Cubes puzzle is particularly noteworthy, showcasing the collaborative efforts between developer Croteam and the community, as 16 of its 18 puzzles were designed jointly by players.
Flying Cubes Puzzle Guide
Flying Cubes may start off simply but quickly evolves into a puzzle that necessitates careful consideration to complete. While the initial stages can be handled with relative ease, the final segments require some strategic thinking.
A key insight for solving this puzzle is understanding how to utilize crossing beams effectively. Below is a detailed step-by-step guide to navigate the Flying Cubes challenge.
Phase One
- Upon entering the puzzle area, turn left to climb a ladder where you will find a jammer and a pressure switch. Activate the switch to see a cube launch through the air onto another switch, setting your objective: getting four cubes to land on corresponding pressure switches to open the tetromino gate.
- Next, drop down and head further into the puzzle area. You’ll find two blue barrier shields; use the jammer on the one on your left. Proceed past it to locate another connector, which is imprisoned behind another blue barrier shield.
- Use the accessible connector to deactivate the barrier trapping the second connector. From this point, refer to the first connector as C1 and the second as C2 for clarity.
- Position C1 on the pressure switch in front of the red laser and connect it to the red beam. Then, use C2 to connect to C1 and the nearby red nodes, eliminating the need for the jammer momentarily as they keep the barrier disabled. This allows you to take the jammer, C1, and C2 to the other side of the barrier.
Phase Two
- With all necessary tools gathered in one spot, it’s time to tackle the more complex parts of the puzzle. Begin by crossing the far shield barrier where you will encounter two fans obstructing your path to another cube.
- Use the jammer on the same shield barrier that the red laser is already keeping down, ensuring that you can navigate to the area with the fans and the box. Bring both C1 and C2 to this side to facilitate the next steps.
- Connect C1 to the far red node and position it on the opposite side of the wall, facing where the blue beam is directed, which controls one of the fans.
- Then, take C2 and link it with the source of the blue beam and C1. This setup will create a loop, shutting off the beam that powers one of the fans.
- Utilize the jammer to disable the other fan, allowing you to collect the box unhindered. Carry the box back to the main puzzle area as you did previously, and don’t forget to deactivate the shield barrier at the top of the stairs with the jammer.
- Place the box in front of the fan and activate the pressure switch nearby; this will send the box soaring onto one of the four pressure switches, unlocking the tetromino gate.
Phase Three
Transporting the box to its final position is often the trickiest aspect of this puzzle, but once accomplished, the remaining tasks are relatively straightforward.
- Now, disable the left shield barrier in the main puzzle area using the jammer; you can keep it in place for the remainder of your puzzle-solving.
- Next, the last two boxes sit atop elevated platforms, already primed for launch by the fans connected to the blue and red laser nodes. Connect C1 to the blue laser and the corresponding blue node to launch the first cube.
- Finally, bring C1 in front of the red beam on the pressure switch. Link C1 to the red laser and connect C2 to both C1 and the red node on the left side of the main puzzle area to release the final box.
Once all four cubes are positioned on the elevated pressure switches, the gate will drop, granting you access to the tetromino.

